Every Junior Engineer Must Learn This - Software Project Decomposition
Back in November of 2021, I shared my repo of organic, feasible, and at least somewhat original/unsolved side project ideas. I have seen that a lot of engineers, junior ones in particular, have trouble exercising the product ideation muscle, which makes sense as they’re still learning how to code. This repo solves that problem, but I was quickly presented with another one from folks who were trying to build these ideas: “How do I build out these ideas? I don’t know where to start.”
This is a good question, and it’s a very understandable question for a junior engineer. It is especially relevant if you come from a structured educational background, which is pretty much what all traditional education is. The technique that answers this question is extremely important for 2 reasons:
- Conceptually, it is how you tackle any big problem, and this is literally a huge portion of what I did all the time as a Meta and Robinhood tech lead.
- It is a vital process for truly understanding system design. At its core, system design is about knowing what components exist and how they fit together; this technique will teach you all of that.
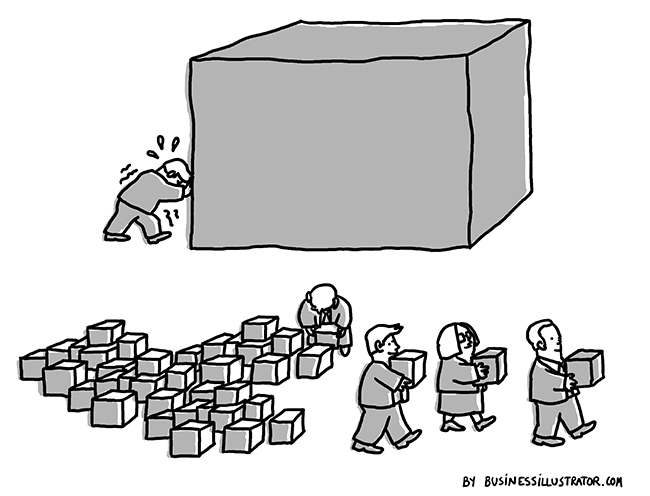
So what’s this technique that you can use to take in any big, scary software project and actually bring it to life? Simple: Break it down into smaller and smaller sub-problems until each problem isn’t scary anymore.
Of course, 1 sentence probably isn’t enough for you to fully understand this concept, so let’s break it down with an example across a series of steps. For this article’s “big software project”, we are going to use my Food Button mobile app.
Step 1: Plot Out The User Journey
Put yourself in the shoes of the end-user and figure out what the flow looks like for them step-by-step. For Food Button, it looks something like this:
- I open the app and see a big button.
- I tap on the button.
- After some loading, I am taken to a page with a chosen restaurant.
- The restaurant shows relevant information like name, rating, thumbnail and location, so I can judge if it’s a good fit for me.
- The restaurant’s great, so I tap a button to start heading to it.
For Food Button, it’s easy because I have already built an Android app that we can step through to power this story. When you’re doing this with a fresh project, you will need to visualize this in some way. I have a lot of experience, so I can do this all mentally whenever I come up with a new app idea. If you’re a beginner, you should probably actually draw something. This can either be some rough sketches on paper or something higher-fidelity like a Figma design.
Step 2: Break Down The Journey Into Tiny, Easily Solvable Components
To make this guide as tactical as possible, let’s say we are trying to build the Food Button in Android from the perspective of a very junior Android developer.
The idea here is to go through every step in the user journey and convert it into small, digestible technical pieces. Something to keep in mind here is that you will often times break something big into medium sized pieces that you then have to break down into even smaller pieces - The bigger the project, the more “rounds” of breaking down you will have to do. You will know when a piece is small and digestible when:
- It isn’t scary to you anymore like how “Build this entire app” is.
- You have a pretty clear idea of how you can figure out the implementation behind this piece. This generally means that it will resemble something you’ll find on StackOverflow and will yield high-signal results when you Google for it.
So knowing this, let’s break down our Food Button journey.
“I open the app and see a big button.”
This one is pretty straightforward as it’s a static UI. We just need to make 1 piece:
- Show a big circular button in Android
“I tap on the button.”
Now things get more interesting as we have user interaction. We can break it down into this:
- Make a button clickable in Android
- Listen and react to a button click on Android
“After some loading, I am taken to a page showing me a nearby restaurant with all its relevant information.”
Now this is where things get really interesting as we will have some deeper break downs.
Nearby restaurant means that we will need to figure out the user’s location in order to know where to search against. So you might end up creating this piece:
- Fetch user’s location on Android
But if you’re aware of how mobile phones work (which you should be as pretty much everyone has a smart phone nowadays), you realize there’s a lot of extra steps here:
- The user needs to give us permission to use their location.
- The user needs to have location services on.
- After #1 and #2 are met, only then can we actually fetch the location.
So knowing all this, we can create the following technical pieces:
- Check if the user has given us location permission in Android
- Ask the user to turn on location permission in Android
- Check if the user has location services on in Android
- Ask the user to turn on location services in Android
- Fetch user’s location in Android in latitude and longitude
So now we have the user’s location, we need to fetch the restaurant. But before we think about the tactics of the API call, we have this: “After some loading…” We need to show a loading state, so the app doesn’t feel frozen while it’s fetching the data. This produces this piece:
- Show a loading dialog in Android
And now, we need to fetch the data from the Yelp API to get that awesome nearby restaurant for the user. This produces the following:
- Make an API call in Android
- Yelp restaurant search API call example in Android
So now the app has the data it needs; it just needs to display it as outlined in this part of the user journey: “The restaurant shows relevant information like name, rating, thumbnail and location, so I can judge if it’s a good fit for me.” This part is more straightforward as it’s more “flat”:
- Load an image from a URL in Android
- Show an out of 5 star rating in Android - If you read the Yelp API docs though, you will find out that you are obligated to use the official Yelp star rating assets if you’re displaying a Yelp rating.
And now we have the final step of our user journey: “I tap a button to start heading to this restaurant.”
We already know how to make a button clickable, so we can just have this:
- Open an address in Google Maps in Android
And we’re done with all our technical pieces! Now let’s put it all other in the next and final step.
Step 3: Build Out Each Component Step-By-Step
After breaking down the user journey, we now have this list of technical pieces:
- Show a big circular button in Android
- Make a button clickable in Android
- Listen and react to a button click on Android
- Check if the user has given us location permission in Android
- Ask the user to turn on location permission in Android
- Check if the user has location services on in Android
- Ask the user to turn on location services in Android
- Fetch user’s location in Android in latitude and longitude
- Show a loading dialog in Android
- Make an API call in Android
- Yelp restaurant search API call example in Android
- Load an image from a URL in Android
- Show an out of 5 star rating in Android
- Open an address in Google Maps in Android
We effectively turned the big, scary, and vague prompt of “Build a Food Button app” into this roadmap of bite-sized, easily digestible technical steps. To build Food Button, all you need to do now is plug each of these pieces into Google, follow the responses, and gradually paste them into your app until you have a fully finished product! Of course, you will probably face some redirects and follow-up Googling here and there, but you have this plan to keep you anchored.
And that’s a wrap! If you’re a junior engineer, I hope this in-depth example helps you understand this absolutely crucial technique within software engineering. Software engineering is one of the most, if not the most, ambitious industries on Earth, so if your goal is to be a top software engineer, you are definitely going to get these crazy, massive projects that initially overwhelm you and strike the fear of failure into your heart. But once you understand how to break things down over and over again until it’s a bunch of individual components that seem almost trivial to you, that anxiety goes away and you now have a clear vision ahead that you can execute on little by little until you have accomplished something amazing. I hope you feel empowered to build amazing stuff now, and if you want to learn more about how to build impressive software projects, check out our expert career advice here. Until next time!
Comments ()